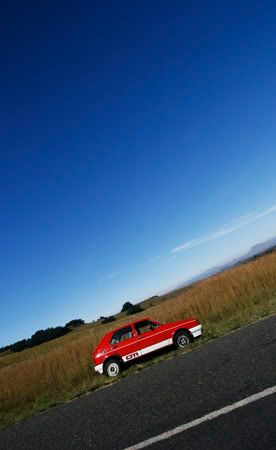
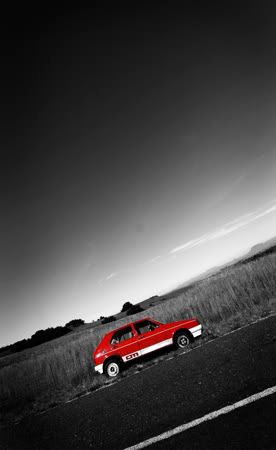
{Learning} Selective Colour in Photoshop
I do selective colouring in PhotoShop… here is a step by step… there are so many ways of doing this…
1. Select image for selective colour. Should preferably contain subject that can easily stand out among the black and white. Most common colour used is red, but really any colour can work.

2. Edit image however you would like. (spotting or cropping) then duplicate the layer. (Ctrl+J)
3. On the duplicated layer, convert to Black and White. (there are many many ways of doing this, do what you are comfortable with, I have made my own actions for this so its easy for me to do quickly.)
4. Work on the black and white layer in Curves (Ctrl+M) to get it more punchy.
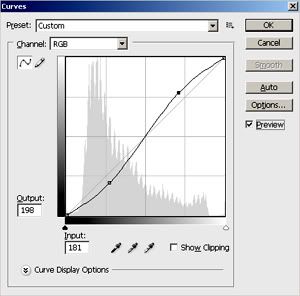
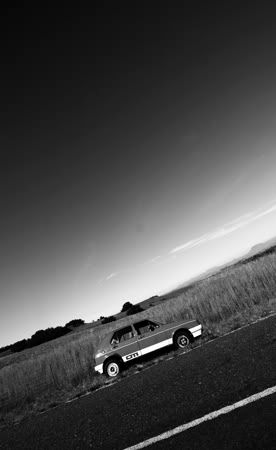
5. once you are happy with your BW layer add a layer mask (found on the layer palette along the bottom, it is the square with a circle in it.) Just click on it and next to your BW layer on your layer palette a white block will open.

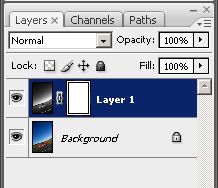
6. Now select your brush tool  make to about 80% hardness and adjust your opacity to the desired effect to start with make it 100% just so you can see…

… and ensure the colour selected on your tool palette is black. 
7. Make sure your layer mask is selected (click on it)
8. Brush over the area where you want to bring colour out. The opacity of the brush will determine how much of the colour comes through. play with this till you are happy with the outcome.
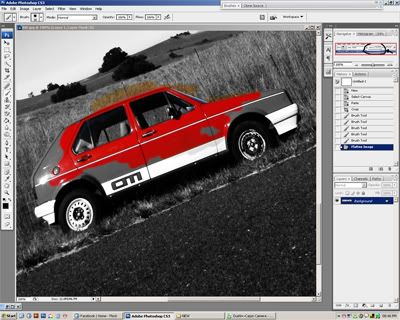
9. Don’t worry to much about going into the areas you want to remain black and white because if you switch the colour of the brush to white instead of black and brush over the area you will take it back to the black and white layer. (this is very easy to ensure you always get what you want.
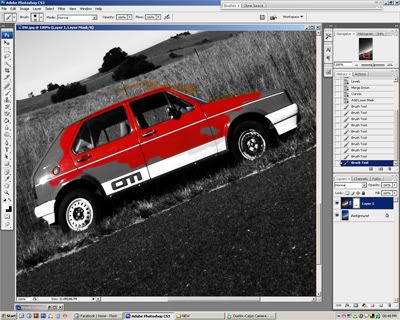
10. Just neaten up your selection and you should have a finished product you can be proud of.
You will not get this prefect the very 1st time! the saying practice makes perfect it incredibly true in this case…
Play nicely 
Before/After
